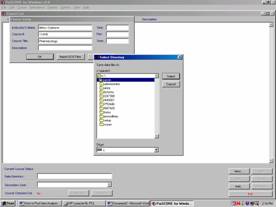
1. From the File Menu, select New Course.
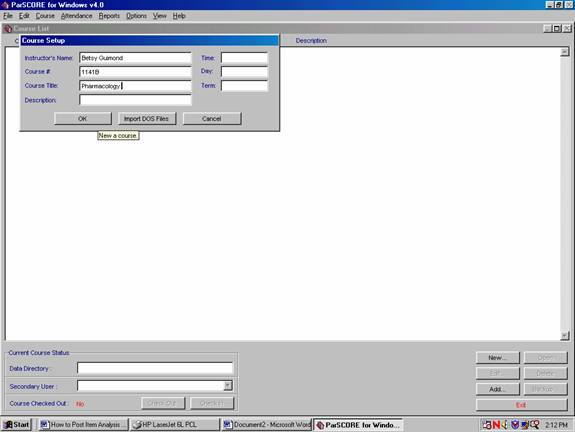
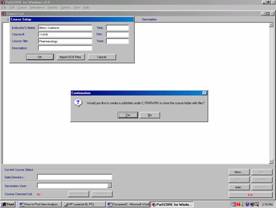
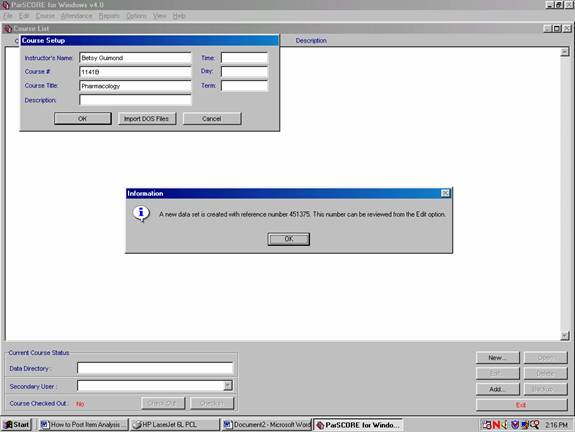
2. Fill in the appropriate information in the Course Setup Box.
2. This will be the next menu. Click on the Select button. (should have defaulted to Parwin folder)
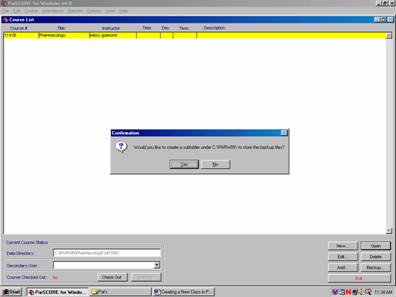
3. The program will ask if you want a subfolder. Click no.
4. A reference number will then be created, make a note of it for future reference.
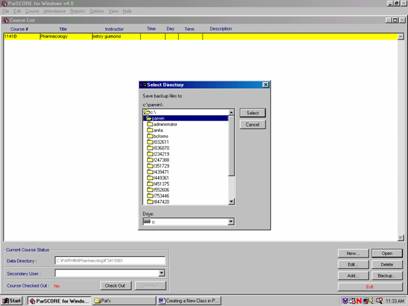
5. You will now see your course on your course list.
6. To create course grading criteria, click the open button.

7. Select directory appears (this is for file back up).
8. Click the select button.
9. Select no.
10. You will now see a number of boxes containing messages about the backup process.
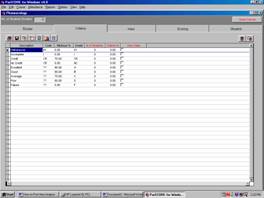
11. Go to the Criteria tab to set up your grading parameters.
A minimum percent =91.45
B minimum percent= 84.45
C minimum percent = 76.45
D minimum percent = 69.45

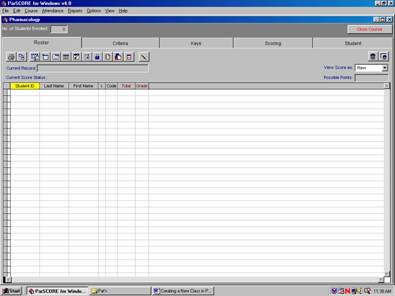
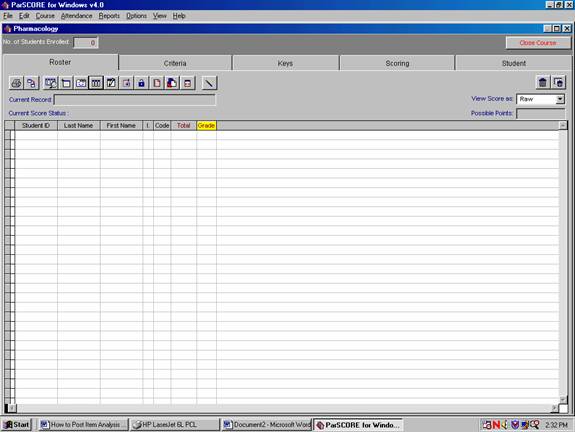
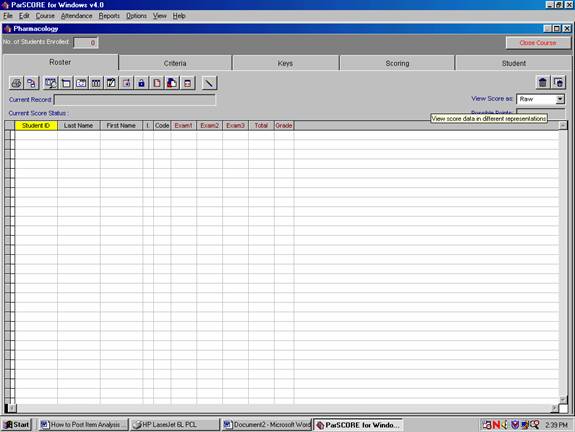
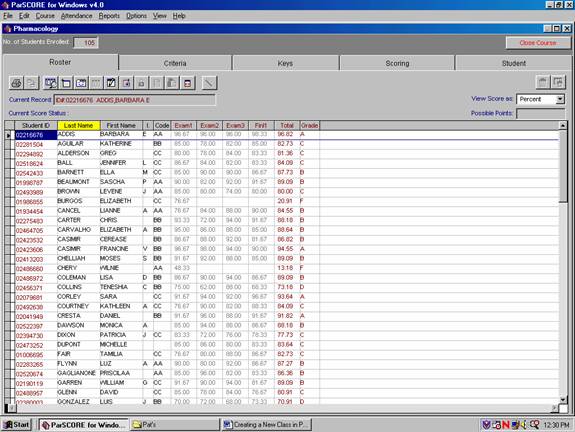
12. Go to the Roster Tab
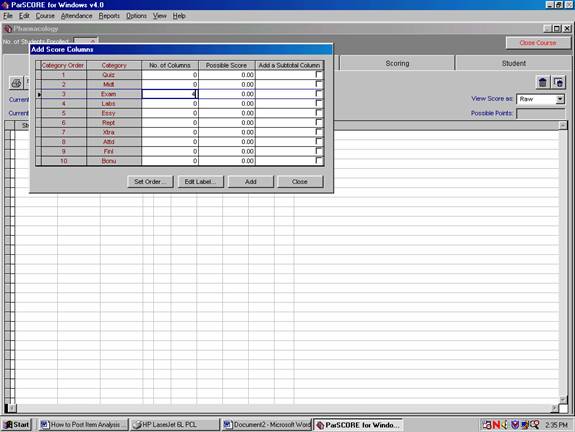
13. To create columns for exams or quizzes, select the column icon in the roster view.
14. Select the exam row and input the number of examinations. Click the add button.
15. Select final row and input 1. Click add.
16. If you want to add any other category follow above protocol.
17. Use the set order button if you have an order preference.
10. Your exams are now set up.

18. To run or grade a test.
19. Be sure that the roster is set to raw data mode.
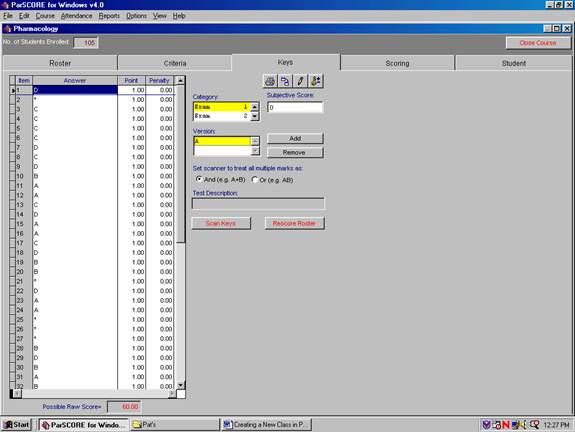
20. Go to key tab.
21. Select the exam number and test version
22. Make sure that your key has version defined (A,B)
23. Place key on scanner
24. Click on the scan key button
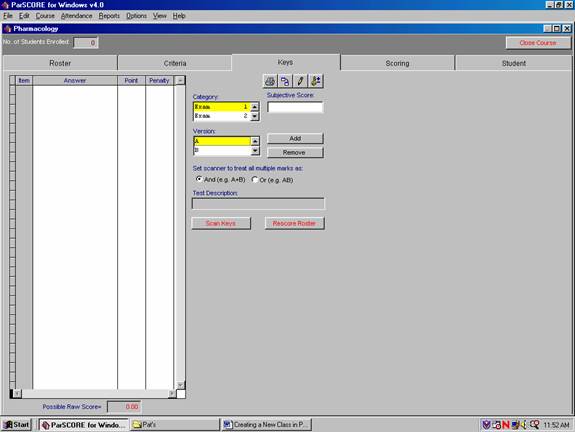
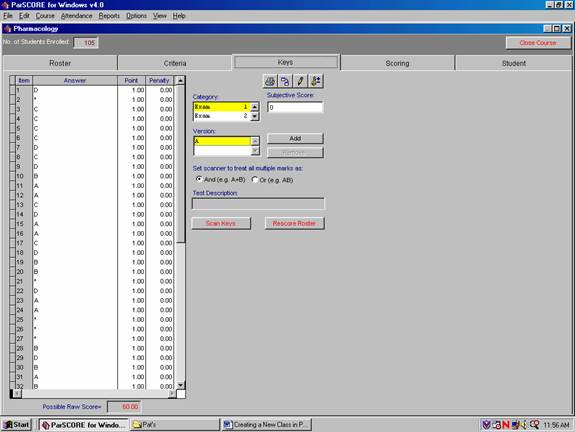
25. You will now see the key in the box on the left
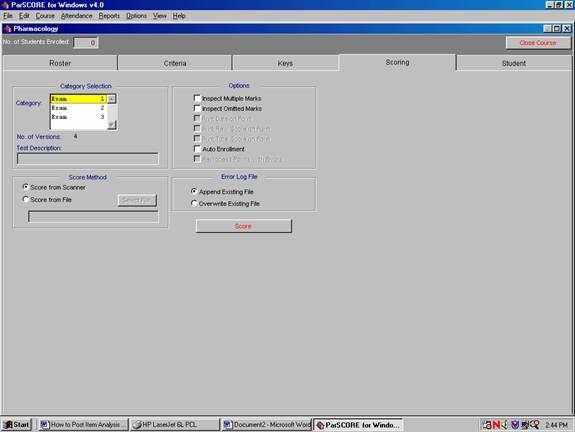
26. To score the tests, go to scoring tab
27. Place tests on scanner
28.
Select the test number under category selection menu
29. Check the Auto Enrollment box under OPTIONS
30. Click on the red score button
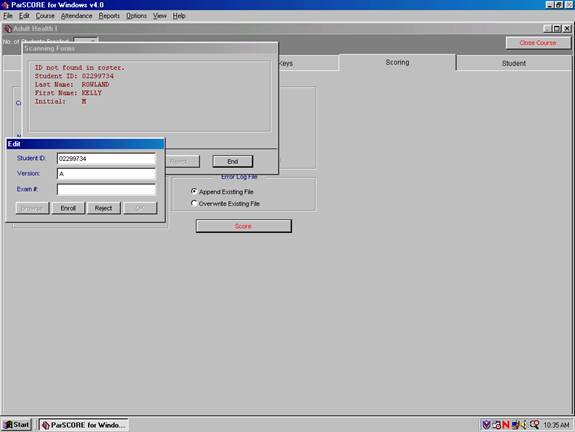
31. If you forgot to Auto Enroll, this screen will appear, each student must be enrolled Manually (first time only!!!). This screen will appear and you will click on enroll.
32. If there is an error on the scantron sheet, you may need to fix it manually and rerun.
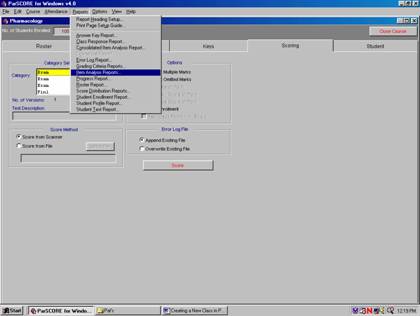
33. Once all sheets are scanned in, you can access your reports.

34. Select the report menu.
35. Highlight Item Analysis Report
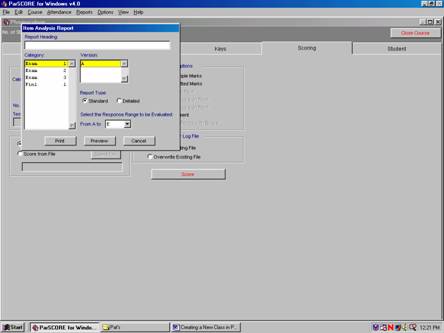
36. Put name and date of test in report heading box.
37. Highlight exam number and version.
38. Select preview to analyze data and for nullification.
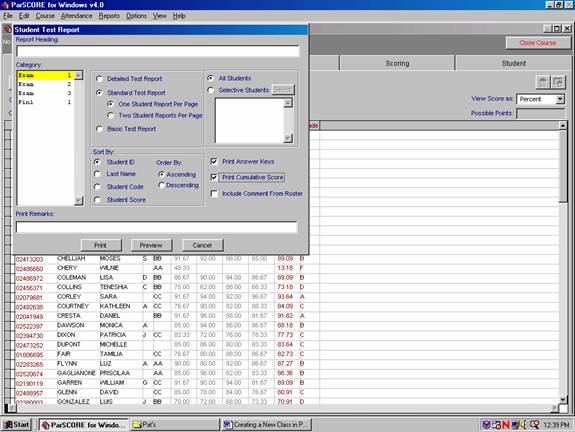
39. Once decisions have been made about data, the key MUST be changed.
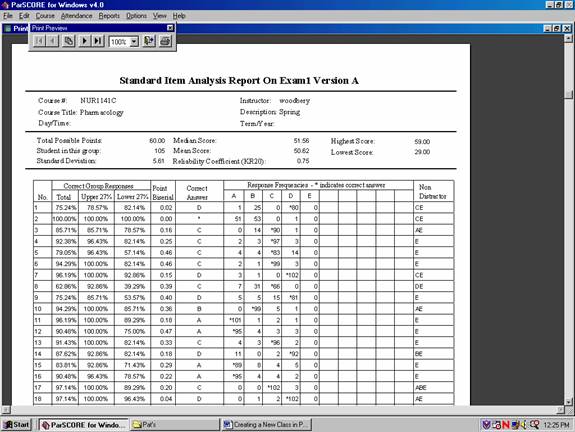
40. Return to the key tab.
41. In the answer column, change item to be nullified from a letter to star *
42. To rescore, click rescore roster button.
43. Return to the roster tab
44. You should see all of your class and the grades. Be sure to change view to percent not raw.
45. You will want to print student reports.
46. Select the Reports
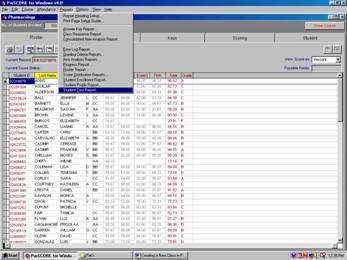
47. At the student test report menu, highlight the test, select standard test report, name the report, and check the parameters that you want to have on your report. The above selections seem to be appropriate.
48. Click the print button and be sure you have enough paper.